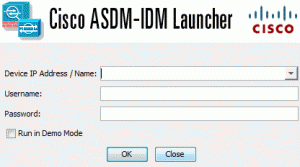
Configure Cisco ASA for ASDM access.
ASDM is used by Cisco ASA in order us to ease configuring the rules/policies. In this post, we will try to give some steps about configuring ASDM in easy ways. These steps can be applied into all cisco asa 5500 series.
Here are the steps:
1. Configure ip address into its interface then upload the ASDM image.
In this example, we are using IP Address 10.7.0.1
ciscoasa#configure terminal
ciscoasa(config)#interface ethernet0
ciscoasa(config-if)#nameif inside
ciscoasa(config-if)#ip address 10.7.0.1 255.255.255.0
ciscoasa(config-if)#no shutdown
After that, don’t forget to upload your ASDM image into your Cisco ASA via tftp. We prefer to use solarwind tftp to get it done.
2. Enable the ASDM service
ciscoasa(config)#asdm image flash:/asdm601.bin
ciscoasa(config)#http server enable
3. Allowing certain host to access the ASDM
In this example, we allow host 10.7.0.2 to access the ASDM
ciscoasa(config)#http 10.7.0.2 255.255.255.0 inside
ciscoasa(config)#
After following above steps then open your browser. Type in the url column with following url https://10.7.0.1 .If your PC/notebooks don’t have the ASDM launcher then you will be prompted to download it once.
